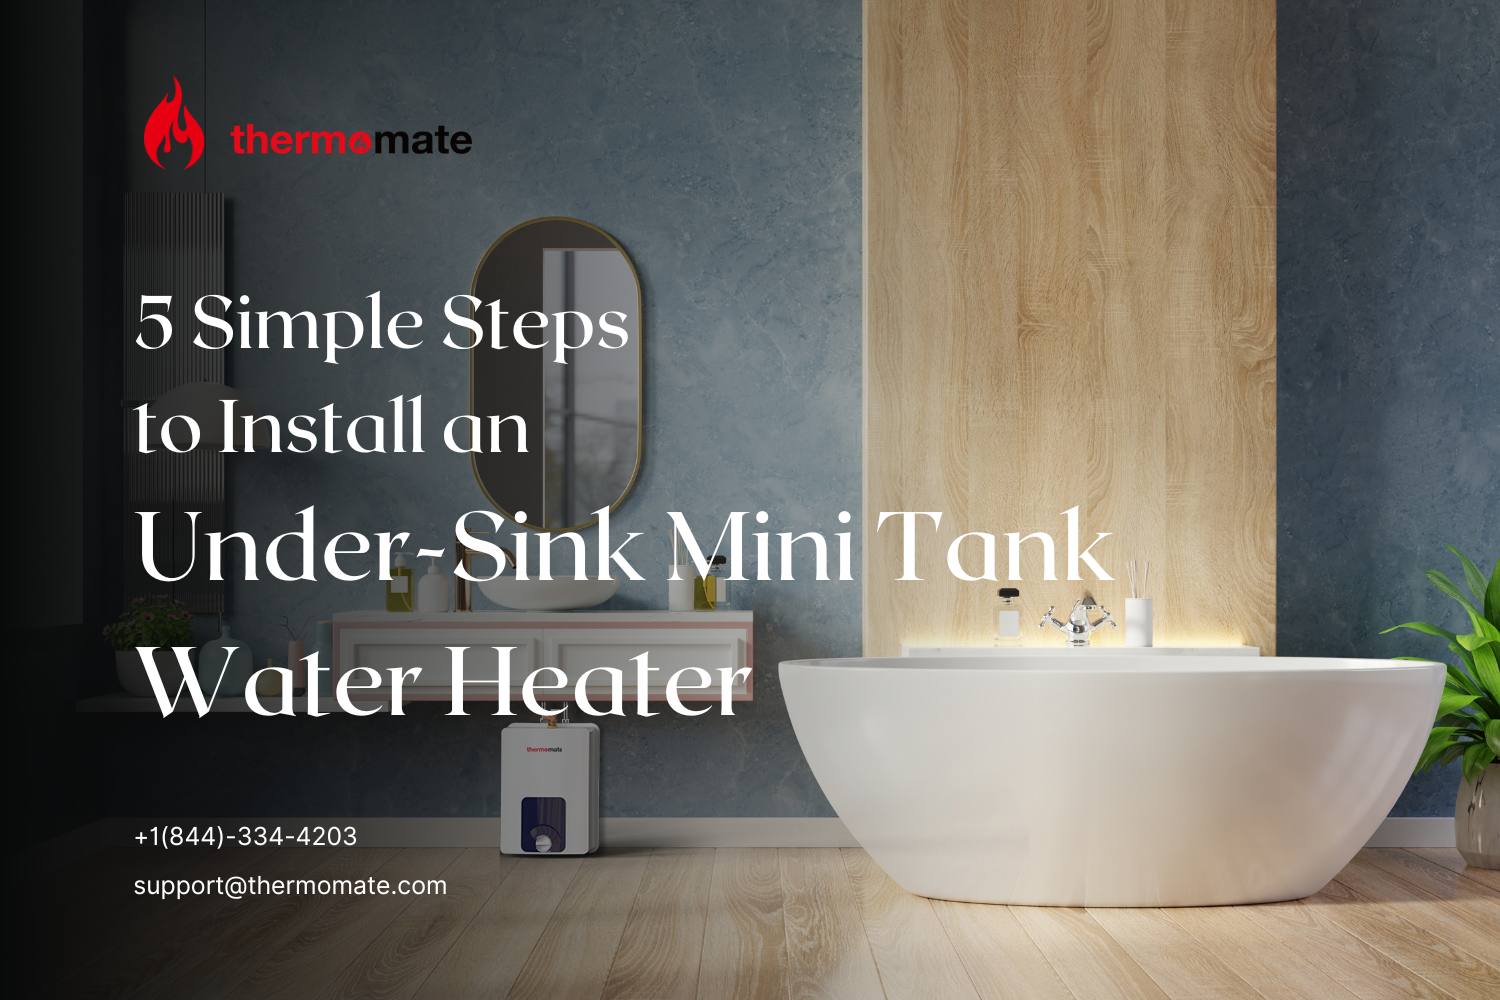
Installing an under-sink mini tank water heater is a simple and efficient way to provide hot water in specific areas of your home. In this article, we will discuss the step-by-step process of installing a mini tank water heater and how it works. From selecting the right water heater to understanding its operation and maintenance, you'll gain valuable insights into this convenient water heating solution.
Key Takeaways
- Proper selection of the mini tank water heater is crucial for efficient performance.
- Preparation of the installation area ensures a safe and convenient setup.
- Mounting the water heater securely is essential for long-term functionality.
- Careful connection of water lines prevents leaks and ensures proper water flow.
- Understanding the electrical wiring and power supply is vital for safe and reliable operation.
1. Selection of the Mini Tank Water Heater
Choosing the right mini tank water heater is crucial for efficient performance and longevity. Consider the capacity, which typically ranges from 2.5 to 6 gallons, to ensure it meets your hot water needs. Assess the space under your sink to determine the appropriate size for your installation area.
When selecting a model, pay attention to the recovery rate, which indicates how quickly the water heats up. Energy efficiency ratings can also guide you to a cost-effective choice. Here's a quick comparison to help you decide:
- Capacity: 2.5 gallons - Ideal for single sinks
- Capacity: 4 gallons - Suitable for multiple sinks or a small shower
- Capacity: 6 gallons - Best for high usage areas

Ensure the product you choose comes with a comprehensive packing list, including an induction cooktop, fixing kits, and an instruction manual. Note that shipping may be limited to the U.S. mainland and returns could be subject to a 20% deduction for buyer's remorse.
Finally, check for warranty and customer support options to safeguard your investment. A reliable brand will offer assistance in case of any issues during installation or operation.
2. Preparation of Installation Area
Before installing your mini tank water heater, it's crucial to properly prepare the installation area to ensure safety and compliance with local building codes. Ensure the area is dry, level, and close to electrical and plumbing connections.
- Clear the space under the sink and remove any items that might obstruct the installation process.
- Measure the dimensions of the space to confirm the water heater will fit.
- Check for nearby electrical outlets and ensure they are properly grounded.
- Inspect the condition of the existing plumbing. Replace any worn components if necessary.
It is essential to verify that the installation area is free from flammable materials and has adequate ventilation.
Lastly, consult the manufacturer's manual for any specific requirements related to the installation surface or environment. Adhering to these guidelines will help prevent issues and extend the lifespan of your water heater.
3. Mounting the Water Heater
Once you have prepared the installation area, the next step is to securely mount the mini tank water heater. Ensure that the unit is level; an uneven installation can lead to operational issues or even damage to the unit.
- Locate the mounting bracket or holes on the back of the water heater.
- Mark the positions on the wall where the screws or bolts will go.
- Drill pilot holes and securely fasten the mounting hardware.
- Hang the water heater on the bracket or secure it directly to the wall with the hardware provided.
It is crucial to follow the manufacturer's instructions for mounting to avoid any potential hazards and ensure the longevity of the device.
After mounting, double-check that the water heater is stable and that there is enough clearance around it for proper ventilation and easy access for future maintenance.
4. Connecting Water Lines
Once the mini tank water heater is securely mounted, the next step is to connect the water lines. This process involves attaching both the cold water supply line and the hot water output line to the corresponding ports on the heater.
- First, shut off the main water supply to avoid any leaks during installation.
- Next, connect the cold water supply line to the inlet port on the heater.
- Then, attach the hot water output line to the outlet port.
- Ensure all connections are tight and secure to prevent any potential water damage.
It is crucial to check for any leaks once the water supply is turned back on. A small drip can lead to significant problems over time, so addressing any issues immediately is essential.
Remember to follow the manufacturer's instructions for the specific model of your mini tank water heater, as connection points may vary. If you are not confident in your ability to connect the water lines safely, it is advisable to seek professional assistance.
5. Electrical Wiring and Power Supply
Once the water heater is securely mounted and the water lines are connected, the next step is to establish the electrical connections. Ensure the power supply matches the requirements of your mini tank water heater. This typically involves connecting the heater to a dedicated 120V or 240V circuit, depending on the model.
- Turn off the main power supply before starting any electrical work.
- Connect the ground wire to the green ground screw on the water heater.
- Attach the hot (black) and neutral (white) wires to the corresponding terminals.
- Secure all connections with wire nuts and ensure they are tight and free from corrosion.
It is crucial to follow the manufacturer's instructions and local electrical codes to avoid any hazards. Professional installation is recommended if you are not familiar with electrical systems.
After the wiring is complete, carefully restore power and check for proper operation. Regularly inspect your electrical connections as part of routine maintenance to ensure safety and efficiency.
6. Operation of the Mini Tank Water Heater
Once your mini tank water heater is installed, operating it is straightforward. Ensure the unit is filled with water before turning on the power to avoid damage to the heating element. Adjust the thermostat to your desired temperature setting; most units will have a range from about 50 to 140 degrees Fahrenheit.
For optimal performance, regularly check the pressure relief valve and the water temperature. It's important to familiarize yourself with the user manual specific to your model for detailed operation guidelines.
Remember, safety is paramount when dealing with electrical appliances. Always follow the manufacturer's instructions and local codes for safe operation.
Here's a quick checklist to keep in mind:
- Verify the water heater is properly mounted and secured.
- Check all connections for leaks.
- Ensure the electrical supply matches the heater's requirements.
- Regularly inspect the unit for any signs of wear or damage.
7. Maintenance and Safety Tips
Regular maintenance is crucial for the longevity and safe operation of your under-sink mini tank water heater. Ensure that you routinely check for any signs of leakage or corrosion and address them promptly to prevent water damage or potential hazards.
- Inspect the heating element and thermostat every six months to ensure they are functioning correctly.
- Drain and flush the tank annually to remove sediment that can affect performance.
- Test the pressure relief valve periodically to confirm it's operating properly.
Remember, safety is paramount when dealing with electrical appliances. Always follow the manufacturer's guidelines and local codes for maintenance and repairs.
If you're not comfortable performing maintenance tasks, consider hiring a professional. Keep in mind that using a CSA certified electrician ensures that safety standards are met, especially when dealing with components like the heating element or electrical wiring.
Ensuring the longevity and safety of your appliances is paramount. That's why we've compiled a comprehensive list of maintenance and safety tips to help you get the most out of your products. For detailed guides, expert advice, and to take advantage of our exclusive deals and warranty service, visit our website's Support section. Don't miss out on the opportunity to enhance your product experience—click through for all the resources you need!
Conclusion
In conclusion, installing an under-sink mini tank water heater is a simple and effective way to provide hot water in specific areas of your home. By following the 5 simple steps outlined in this article, you can enjoy the convenience and efficiency of a mini tank water heater. Understanding how a tank water heater works and the benefits it offers can help you make an informed decision about incorporating this technology into your home. Whether it's for the kitchen, bathroom, or any other area, an under-sink mini tank electric water heater can make a significant difference in your daily comfort and convenience. Take the first step towards a more efficient and comfortable home by considering the installation of a mini tank water heater today.
Frequently Asked Questions
What are the benefits of installing a mini tank water heater under the sink?
Installing a mini tank water heater under the sink provides hot water right where you need it, reducing the wait time for hot water and minimizing water wastage. It also saves energy compared to a whole-house water heater.
Can I install a mini tank water heater myself, or do I need a professional?
The installation of a mini tank water heater can typically be done by a DIY enthusiast with basic plumbing and electrical skills. However, it's important to follow the manufacturer's instructions and local building codes to ensure safety and compliance.
What size mini tank water heater do I need for my under-sink installation?
The size of the mini tank water heater depends on the hot water demand at the installation location. For a single sink, a smaller capacity (2.5 to 4 gallons) may suffice, while multiple sinks or higher demand may require a larger capacity.
Do I need a dedicated electrical circuit for the mini tank water heater?
It is recommended to have a dedicated electrical circuit for the mini tank water heater to ensure safe and efficient operation. Consult a qualified electrician to assess the electrical requirements and install the appropriate circuit if needed.
How does a mini tank water heater work, and what are its components?
A mini tank water heater operates by heating water stored in a small tank, typically made of glass-lined steel or durable plastic. It is equipped with a thermostat, heating element, temperature and pressure relief valve, and inlet and outlet connections for water supply.
What maintenance tasks are required for an under-sink mini tank water heater?
Regular maintenance includes flushing the tank to remove sediment buildup, checking the temperature and pressure relief valve, and inspecting the electrical connections. Refer to the manufacturer's instructions for specific maintenance requirements.
Learn more about: How To Maintenance Your Mini Tank Water Heater